What is minikube?
Minikube is a tool which quickly sets up a local Kubernetes cluster on macOS, Linux, and Windows. It can deploy as a VM, a container, or on bare-metal.
Minikube simplifies the process of setting up and running a Kubernetes cluster locally on your computer. It allows you to create a lightweight, single-node Kubernetes environment that you can use for testing, development, and learning purposes.
Minikube is a pared-down version of Kubernetes that gives you all the benefits of Kubernetes with a lot less effort.
This makes it an interesting option for users who are new to containers, and also for projects in the world of edge computing and the Internet of Things.
Features of minikube
Minikube comes with several features that make it a valuable tool for working with Kubernetes on your local machine:
(a) Supports the latest Kubernetes release (+6 previous minor versions)
(b) Cross-platform (Linux, macOS, Windows)
(c) Deploy as a VM, a container, or on bare-metal
(d) Multiple container runtimes (CRI-O, containerd, docker)
(e) Direct API endpoint for blazing fast image load and build
(f) Advanced features such as LoadBalancer, filesystem mounts, FeatureGates, and network policy
(g) Addons for easily installed Kubernetes applications
(h) Supports common CI environments
Task 1: Install Minikube on your local
Install Minikube: To install Minikube, open your terminal and enter the appropriate command based on your operating system:
Linux:
curl -LO https://storage.googleapis.com/minikube/releases/latest/minikube-linux-amd64 sudo install minikube-linux-amd64 /usr/local/bin/minikube
Install kubectl (Kubernetes Command-Line Tool): If we need to interact then we need to install CLI as a kubelet.
curl -LO "https://dl.k8s.io/release/$(curl -L -s https://dl.k8s.io/release/stable.txt)/bin/linux/amd64/kubectl"
chmod +x kubectl
sudo mv kubectl /usr/local/bin/

Start Minikube Cluster: After installation, start the Minikube cluster by running the following command:
minikube start --driver=docker

This command sets up a virtual machine and deploys a Kubernetes cluster within it.
Verify Installation: Once the cluster is up and running, you can verify its status using:
kubectl cluster-info
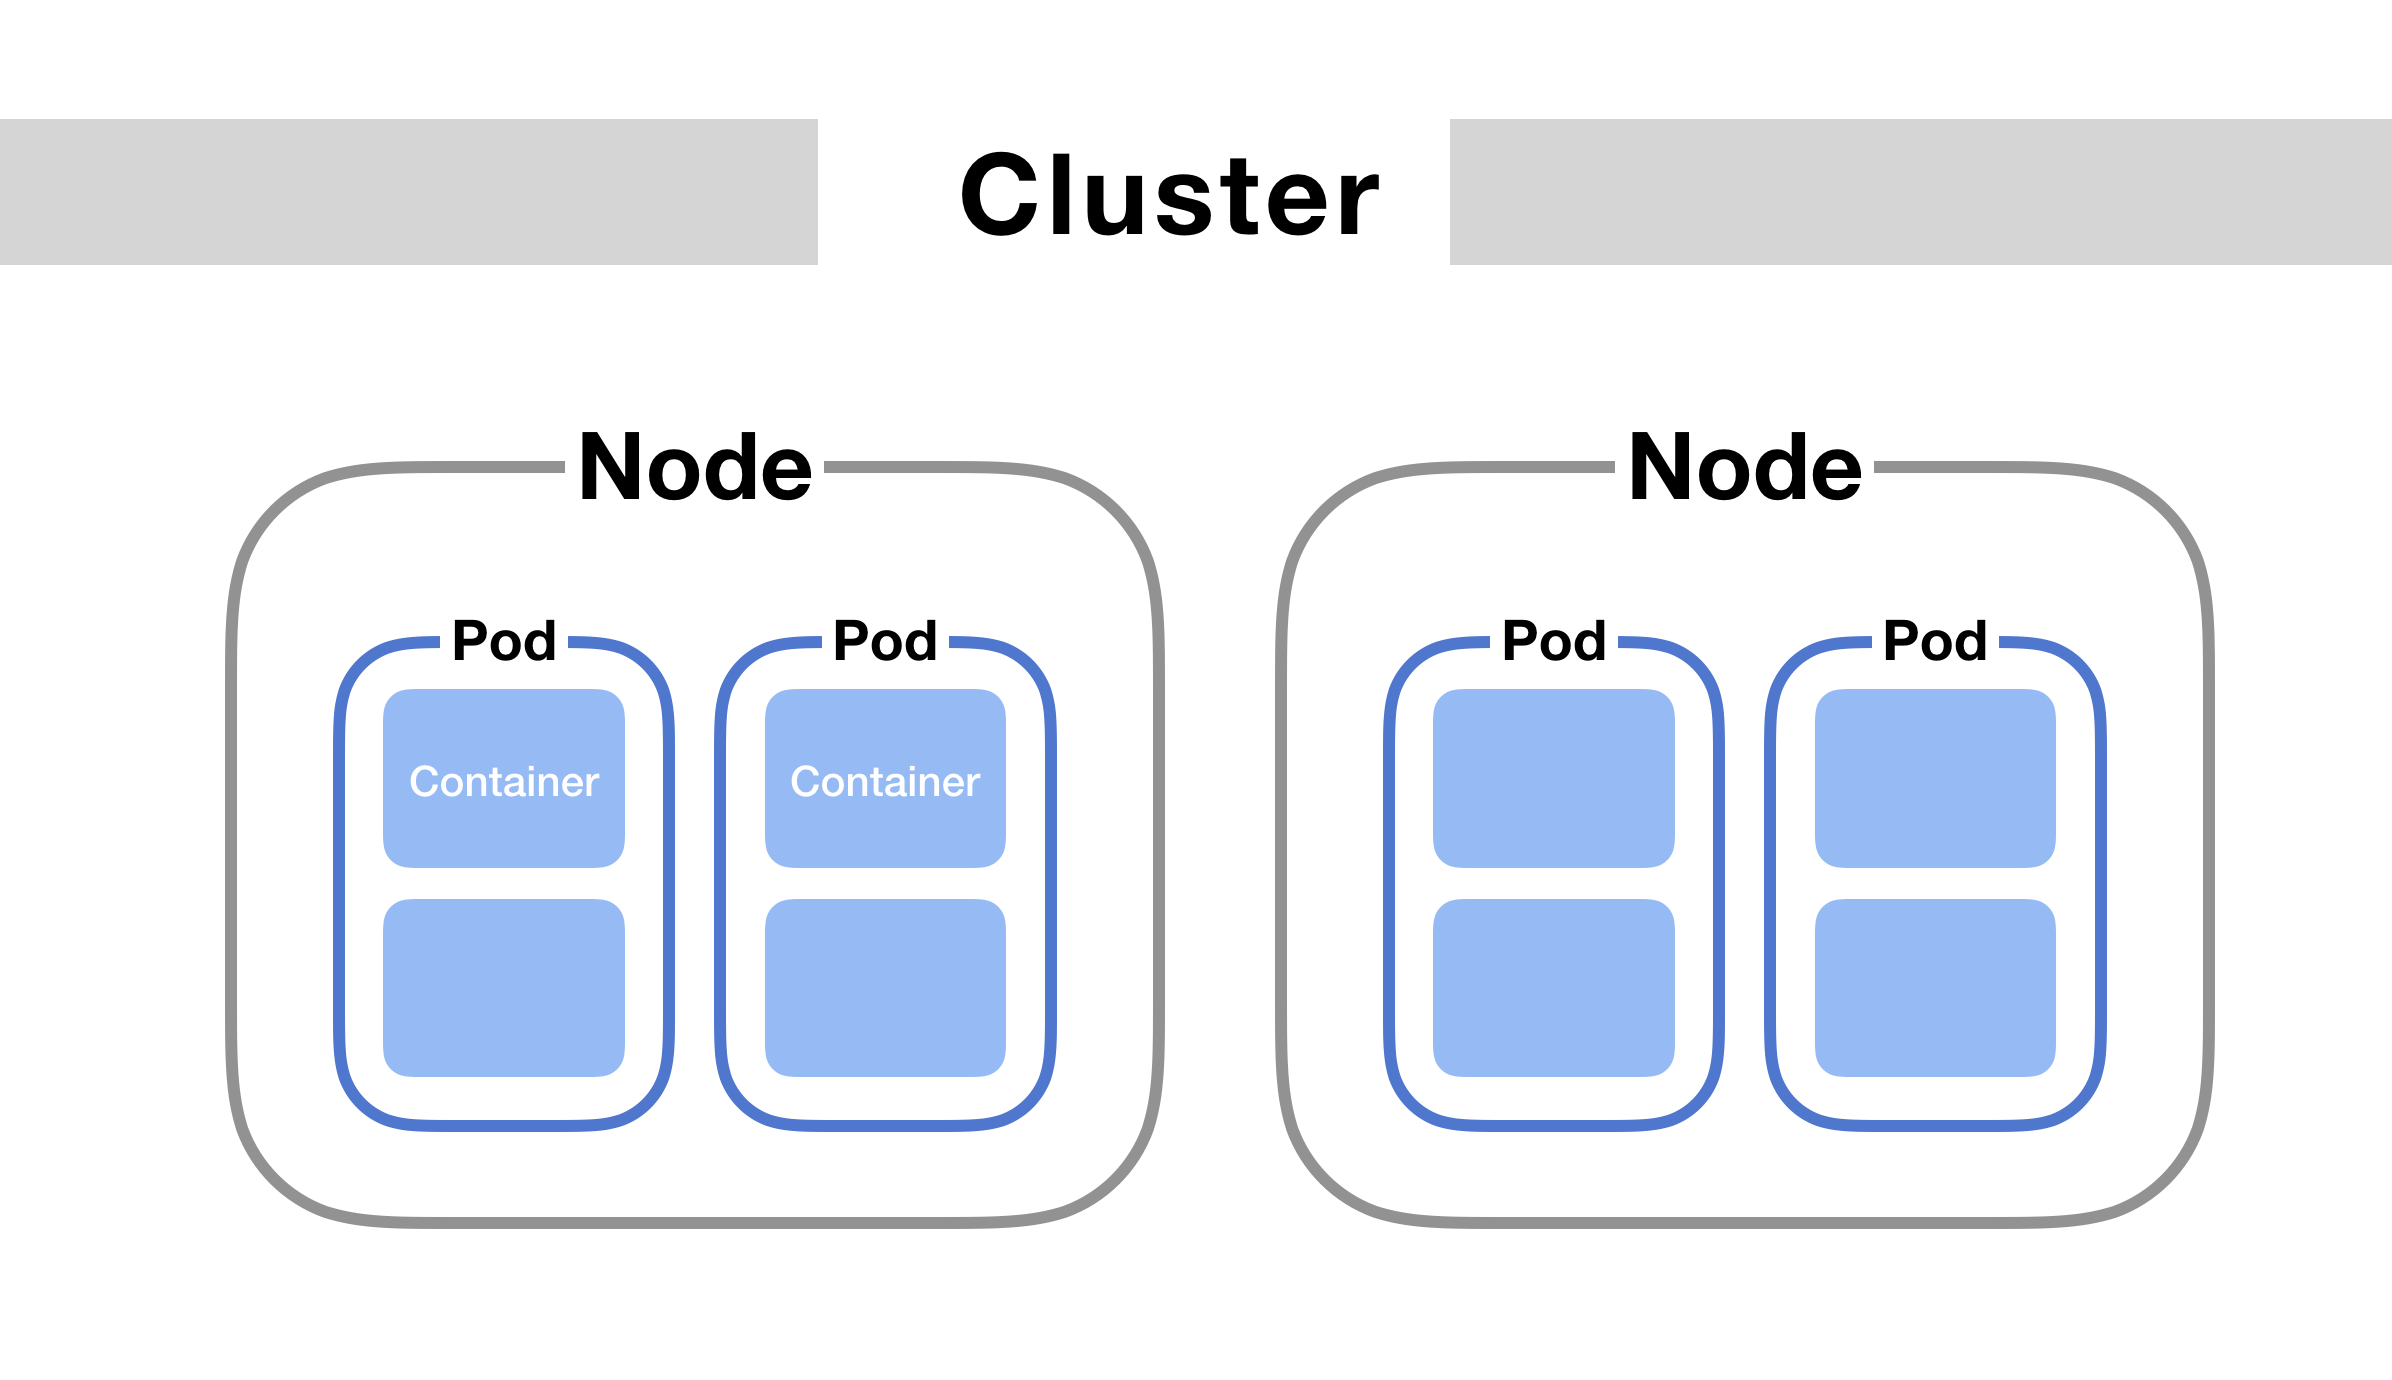
Let's understand the concept of pod
Pods are the smallest deployable units of computing that you can create and manage in Kubernetes.
A Pod (as in a pod of whales or pea pod) is a group of one or more containers, with shared storage and network resources, and a specification for how to run the containers. A Pod's contents are always co-located and co-scheduled, and run in a shared context. A Pod models an application-specific "logical host": it contains one or more application containers which are relatively tightly coupled.

Task-02: Create your first pod on Kubernetes through minikube.
Create a YAML file (e.g., pod.yaml) with the following content to define your pod:
apiVersion: v1
kind: Pod
metadata:
  name: nginx
spec:
  containers:
  - name: nginx
    image: nginx:1.14.2
    ports:
    - containerPort: 80


# After creating this file , run below command:
# kubectl apply -f <yaml file name>
Apply the Manifest: Apply the pod manifest using
kubectl:kubectl apply -f pod.yamlCheck Pod Status: To check the status of your pod:
kubectl get pods

Remember, pods are the smallest deployable units in Kubernetes, and they can contain one or more containers. This example demonstrates creating a simple pod with a single Nginx container, but in real-world scenarios, you would likely use higher-level abstractions like Deployments or StatefulSets for more complex applications.
"Thank you for enjoying my DevOps blog! Your positive response fuels my passion to dive deeper into technology and innovation.
Stay tuned for more captivating DevOps articles, where we'll explore this dynamic field together. Follow me on Hashnode and connect on LinkedIn (https://www.linkedin.com/in/som-shanker-pandey/ for the latest updates and discussions.